Panotour - Build tab
Contents
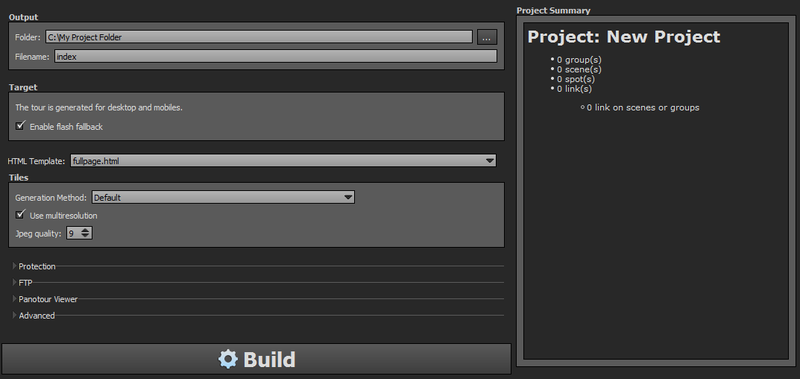
The Build Tab is the final step of your tour creation. In this tab you configure your tour export formats and check the summary of your project. Your tour spheres are divided into tiles to optimize quality and speed. You can customize the output settings for the tiles. Panotour Pro can also protect your exported files by encrypting your XML configuration file and make your tour work only on selected domains. A FTP client is included to upload your project files to your web server.
Output

-
 Folder: Select the export folder in which all your project files will be saved. Avoid spaces, periods or special characters for compatibility reasons. Replace spaces with "-" or "_".
- Filename: Enter the filename you wish for the main file of your tour. For many purposes, it is recommended to use «index» for filename.
Run your tour locally Learn how to launch your tour locally from your computer without Panotour Here
Target

- Enable Flash Fallback: By default, the tour is generated for desktop and mobile devices. You can enable adding the Flash player to your tour as a fallback which will be used on devices, operating systems and browsers that are too old or simply do not support HTML5.
- Examples of targets that will need the Flash fallback:
- Windows 7 desktops
- Internet Explorer versions below v11
HTML Template
![]()
- HTML Template: Leave «fullpage.html» as is for most usages. For advanced users, you can add and edit html templates in the Edit Menu > Open Templates System Directory > html folder. Learn more about HTML Templates and download some extra ones.
Tiles
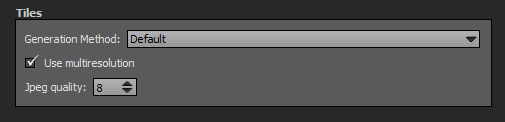
- Generation Method:
- Default: Smart builder that generates only tiles that has to be generated excepting panoramas with «Do not generate tiles on build» checked (in Picture/Panorama Properties > Advanced).
- Generate all panoramas except those marked as "don't generate": Force rebuild of all tiles of panoramas except the ones with «Do not generate tiles on build» checked (See Picture/Panorama Properties > Advanced).
- Generate all panoramas: Force rebuild of all panoramas tiles without any condition (May take a while).
- Use Multiresolution: Checkbox to enable/disable multiresolution feature on your tour. Images tiles are loaded according to the user zoom level to get the best optimized quality and speed. Checked by default.
- JPG Quality: Enter the image quality you wish for your tour. 0 is the lowest image quality (fastest web page loading) and 12 is the best image quality (slowest web page loading). Panotour is adjusted to 8 by default which is the best compromise between speed and quality.
 Protection
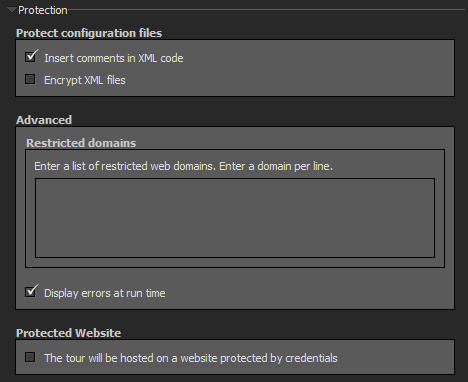
- Insert Comments in XML Code: Checkbox to display or not comments in the exported XML configuration files for further developments. Check by default. Uncheck if you don't want to display comments on code.
- Encrypt XML Files: Checkbox to encrypt or not the XML configuration files of your tour. Unchecked by default. Check if you want high security level for your tour.
- Advanced: Restricted Domains: Enter line by line the list of domain names authorized to host your tour. Blank by default means you can put your tour on any website.
For example, to only show the tour on www.kolor.com write
- kolor.com in the list of domains, if you want the tour to be able to work on store.kolor.com, something.kolor.com, other.kolor.com
- www.kolor.com in the list of domains, if you want the tour to be able to work on www.kolor.com only
If you are going to restrict the domains, don't forget to add localhost as a domain so that you can preview your tour locally!
- Display Errors at Run Time: Checkbox to show or hide an error list container box if Panotour encounters troubles during the tour play. Checked by default.
- Protected Website: Check this option if your tour will be displayed on a page protected by credentials (password-protected on the server side).
FTP
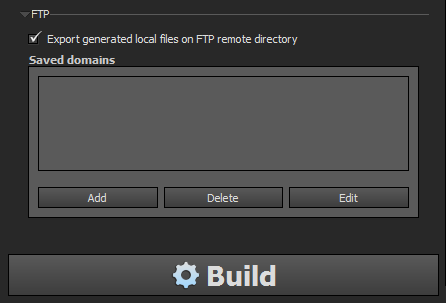
Panotour Pro includes a very simple FTP Client, but you are of course free to use another proper FTP Client to upload your tours to your server.
You can add several FTP servers to your project.
- Export Generated local Files on FTP Remote Directory: Checkbox to use or not built-in Panotour FTP client to upload your exported files to your webserver. Unchecked by default.
- Add: Click to add a FTP server.
- Delete: Click to delete a FTP server.
- Edit: Click to edit a FTP server.

- Domain: Enter the domain name, for example «ftp.mywebsite.com»
- Port: Leave «21» unless you know what you're doing.
- Login: Enter your login.
- Password: Enter your password.
- Remember the Password: Checkbox to remember or not the password for upload, otherwise you will be prompted for the password each time you build the tour.
- Folder: Enter the server path to which you want to place your tour files.
Panotour Viewer
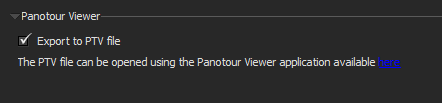
Check this option if you want Panotour to build a single .ptv file. The .ptv file will be built in the same directory as your built tour.
You have the option of exporting a standalone file version of your virtual tour to be opened in Panotour Viewer, which allows you to test virtual tours without any Internet connection on different devices and share your work in progress tours with clients before publishing the tour online.
.
See also: Panotour Viewer Documentation
Advanced
 Languages

Enter language codes separated by commas into the input field.
This section allows you to enter the languages your final tour will contain, the default language extension shown is that of your Panotour software interface language. Note that the languages for the tour are completely independent from your Panotour interface language.
For more information about internationalising your tour (adding different languages) have a look at the page: Tour Languages
- Each build process will erase existing language files, so:
- Take care to edit your language files when you have completed your last build process.
- Always backup your edited language files. For example, you could create a folder called "translations" and copy your xml file(s) into it, just in case you build the tour accidentally.
Scale

Leaving this option checked will increase the size of certain of your plugins when viewed on mobile. Uncheck to use the same scale on desktop and mobiles.
Project Summary
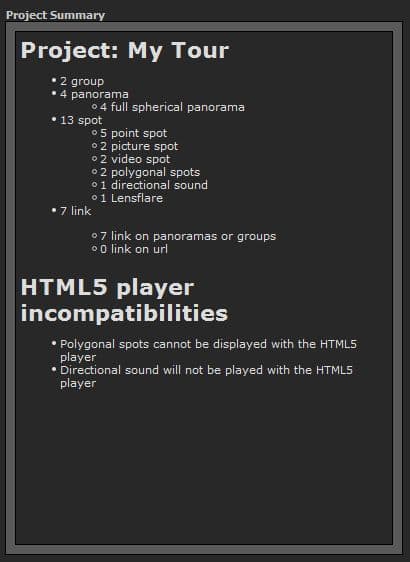
Project : My Tour
A complete summary of your tour with
- Number of groups.
- Number of pictures/panoramas.
- - Number panoramas by types.
- Number of spots.
- - Number of spots by types.
- Number of links.
- - Number of links by types.
HTML5 Player Incompatibilites
List that displays the features included in your tour that are not supported by the HTML5 Player.
See here for the list of features that are currently not supported by the HTML5 Player.
BACK TO: Documentation / Panotour Documentation