Panotour - Tour - Group properties
Contents
Intro
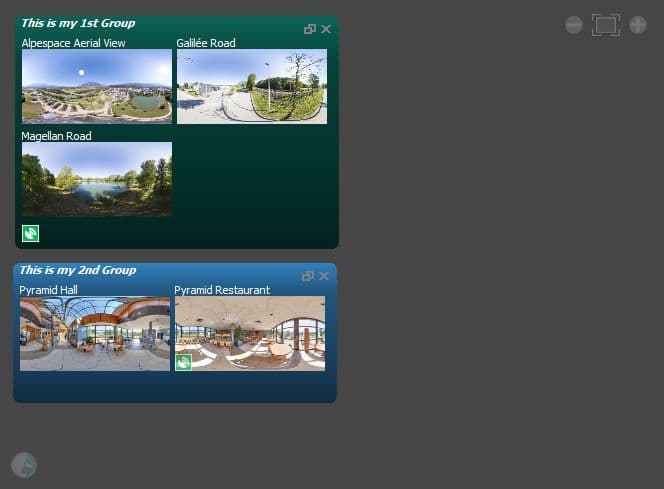
Kolor Panotour Pro 2 allows to embed scenes into groups, a really useful feature to group scenes that belongs to a same place for example (like buidings, houses, etc).
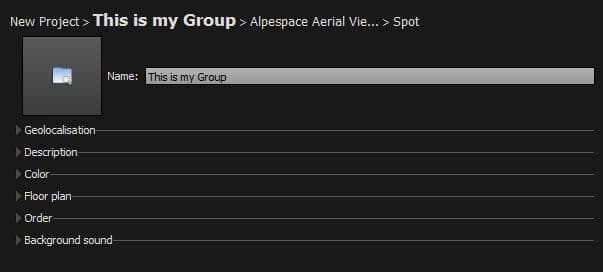
Name
![]() see on YouTube Group Name Properties
see on YouTube Group Name Properties
- Name: Enter the name for the selected group of pictures/panoramas.
- Thumbnail: You can select your thumbnail by clicking on the icon
 .
.
- To reset the default thumbnail Shift+Click on it.
 Geolocalisation Geotagging
(This function requires an Internet connection).

![]() see on YouTube Group Geotagging Properties
see on YouTube Group Geotagging Properties
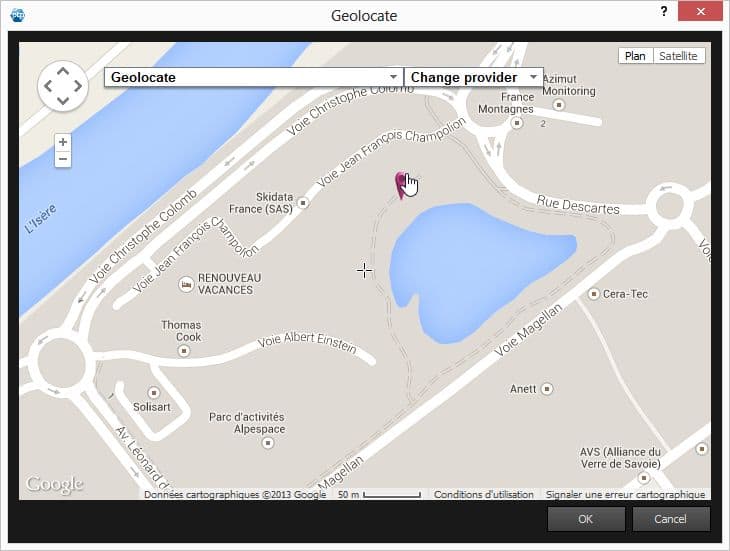
This property allows the selected group to be geotagged through different maps providers available:
- Google Maps
- OpenLayers Maps
To geolocalise your group, you can either:
- Latitude: Manually enter Latitude of the current panorama.
- Longitude: Manually enter Longitude of the current panorama.
- Use the geolocate pointer tool included to place a marker on the map.
- To open the geolocate tool, click on the Globe Icon on the right.
- A popup window will open and you just have to search the place and click to mark it.
- You can drag and drop the marker.
- Generate an Hotspot Automatically: Displays an hotspot on the PanotourMaps Plugin (See more in Plugins Library).
Compatibility
The Geolocated spots will always use your default map spot style, you can not assign several spot styles to geolocated spots even if the interface seems to allow this.
Description
![]() see on YouTube Group Description Properties
see on YouTube Group Description Properties
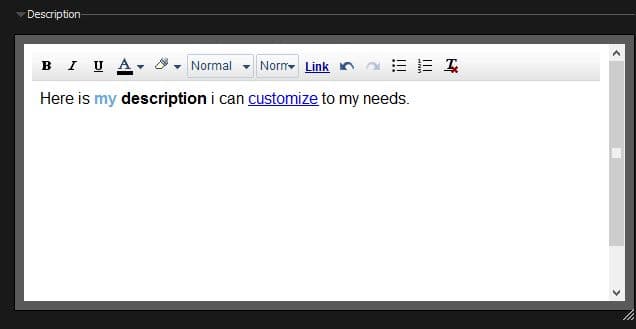
The Description field can be displayed in different ways. Even if description field is completed, you may not see it appear unless you call it through an action. To learn more about actions, see Plugins in the Style tab. Description contains a built in WYSIWYG Editor that can customize and add HTML features to your text like:
- Text formatting and style (Bold, Italic, Underline, Color, Font Family, Font Size).
- HTML features for enhanced text (Links, Unordered Lists, Ordered Lists).
- Undo/Redo function.
- Remove formatting function.
Color

![]() see on YouTube Group Color Properties
see on YouTube Group Color Properties
This area allows to set up a color for styling your group. This swatch is useful when you are in Style Tab and for example, this will set up the color of the panorama menu group. Choosing a color instantaneously changes the background color of the group in the
Main Workspace.
Floor Plan

![]() see on YouTube Group Floor Plan Properties
see on YouTube Group Floor Plan Properties
The Floor Plan allows your visitors to easily and quickly know their current position in the tour and then make your tour more convenient to navigate through.
- You can assign a floor plan to each project and group of pictures/panoramas.
- You can add Hotspots to each floor plan.
- Image file format supported is *.png, *.jpg, *.jpeg, *.kro, *.psd, *.psb and *.tif
Add/Remove a Floor Plan
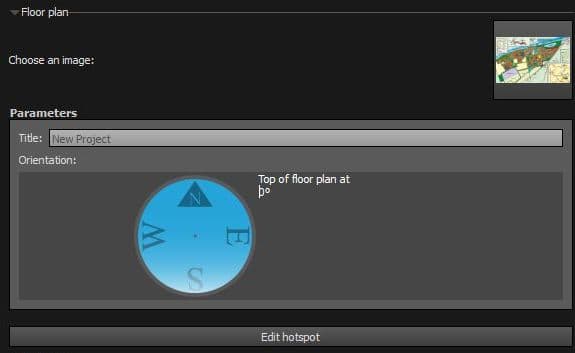
- To add a floor plan, click on the icon and select your file.
- Now you can edit hotspots on your selected floor plan.
- To remove the floor plan, Shift+Click on the thumbnail.
Order

This box displays the order of scenes into the current selected group. This will also define thumbnails order in your menus. How to change the order:
- Simply drag n drop each item.
- Click on thumbnails arrows
Sort and Zoom
- Zoom inside the order box with the (+) and (-) buttons
- Quickly sort scenes with the (A-Z) and (Z-A) buttons
Background Sound

Insert a background sound to your group.
- Click on
 button to select a sound file.
- This is the default background sound that will be played on every scene of the current selected group that doesn't have its own background sound.
- You can select a background sound on every Scene Properties > Background Sound.
- Only .mp3 files are supported.
BACK TO: Documentation / Panotour Documentation